I’m part of a dance team performing in Vancouver in August. Dance is a new love of mine. I’ve been learning various types of dance since January, but I started something called Ceroc in May. So I’m a newbie, and I’ll be part of the beginners routine. I’m excited to step outside my comfort zone and perform on stage, but the lovely, friendly and supportive people in the team make me feel pretty calm about the whole thing.
Anyway… I need a costume. It’s simple… I just need a white dress. Our team leader has given us the freedom to decide on the design ourselves. I could’ve gone to a charity shop to pick up something reasonable, but on the off chance I happened to be in Dressew in downtown Vancouver picking up hand sewing needles for 25c, and suddenly thought “why don’t I make a dress?!”
Dressew has a clearance section downstairs where I found a meter or so of white jersey for $1.59. It’s a bit on the thick side, but for that price I really don’t care! I figured I should have a test run, so also chose a meter of a bold blue jersey for $1.79. It was slightly thinner than the white material, but I thought it would give me a good chance to try out my idea for a pattern.
I’ve watched this youtube channel quite a bit and love the simplicity of what she makes. I haven’t yet made anything, so thought this was a good time to start.
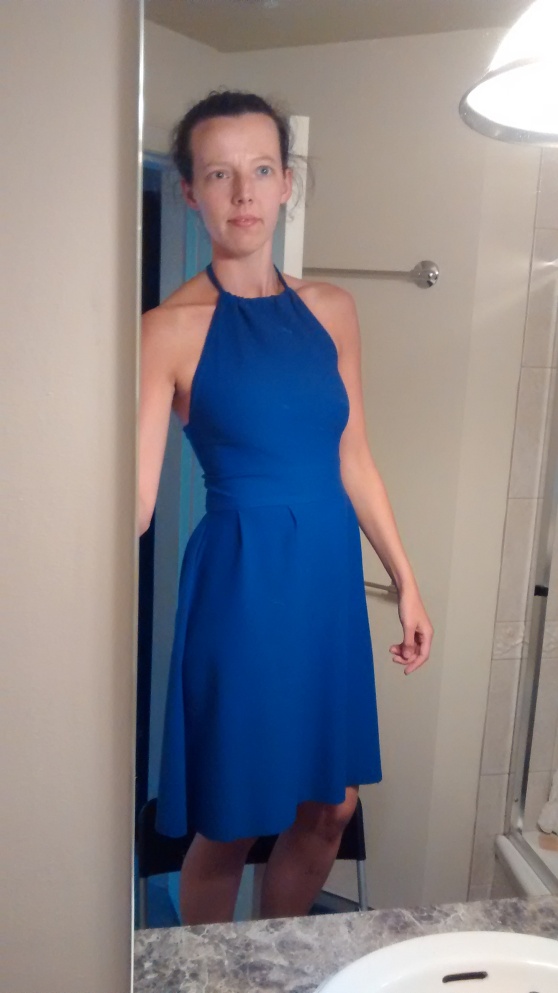
The plan was to make this skater halter dress. But unfortunately the ‘circle skirt’ would’ve been about 5 inches long with the piece of fabric I had… I know that’s some people’s style, but well… humm… it’s not mine!
So I found a pattern for the Socialite Skirt (again I had to manipulate it to make it work for a dress) and attached it to the halter neck top that was made in the youtube video above.
Instructions:
1. Cut two rectangles 20″ (length) x 28″ (width – this is determined by your own waist measurements, mine being 28″).
2. To give the skirt a bit of extra flair, I cut an angle at ends of both rectangles. This makes the bottom about 5″ wider than the top on both ends (total of 10″ different).
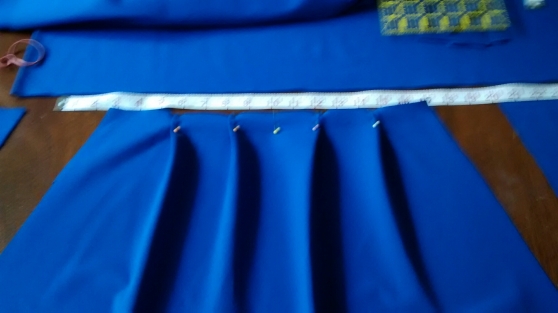
3. Now time to make the pleats. I didn’t make my pleats as big as in the Socialite skirt and I don’t think I actually did a box pleat. Anyway this is what I did: Mark the midpoint on the fabric, then go out 2″ either side of this and mark again. From these marks go out another 1″ and bring these together with the 2″ mark. Flatten the fabric underneath the join so that the pleat faces away from the centre and pin.
4. Go a further 2″ and do the same again.
5. On the backside piece of fabric we will be making two inverted box pleats. Mark the midpoint on the fabric, go out 3.5″ either side of this and mark again. Make another mark 7″ to the right and to the left of your previous marks. Match up 2 far right marks to create an inverted box pleat, and then do the same with the 2 far left marks. (NOTE: the waist of the skirt should in total be the same as your actual waist measurements – so for me each should be 14″ to give a total 28″. If not then adjust your pleats to make this the case.)
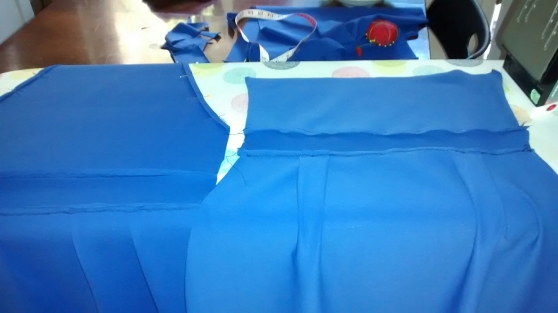
6. Make and attach the waist band. Cut two waistbands the same width as the waist now is with pleats x 3″ (this can vary depending on how thick you want your waistband). Take the front skirt and one waistband and pin right sides together. Do the same with the back skirt and the second waistband piece.
7. Now you are ready to make the top. Refer to this video for more details. Take a tshirt that fits well. Find your waist and fold this up out of the way. Make a fold from the armpits to the neck line on each arm. Then fold in half. Place the tshirt template on the fabric fold and cut around adding an extra 1/2″ for hemming etc.
8. The back of the halter is just another strip of fabric like the waistband, but the length should be the distance from your waist to your armpits instead.
9. On the front halter piece hem the side from collar to armpit by folding over twice and sewing down.
10. Attach top to skirt. Put the waist of the halter and the skirt waistband right sides together and stitch straight across. Do the same for the back of the halter to attach to the back skirt.
11. Attach back and front of the dress together. Pin right sides together from armpit to knee. Stitch all the way down! Try on. The stretch jersey used allowed a nice fit.
12. The halter neck. Turn the neck over about 1/4″ and then again about 1″. Pin and stitch straight across at almost 1″ from the top edge (this will make a tube space to allow a neck tie to pass through.
13. Neck tie. Take a long strip of fabric about 1 1/2″ wide and fold with wrong sides together and stitch together making sure to sew close to the fabric edge (not the fold). Put a safety pin on one end and thread through to turn the fabric inside out.
14. All together now. Thread this through the neckline on the dress. Put on and tie! Finito!

Good luck!


